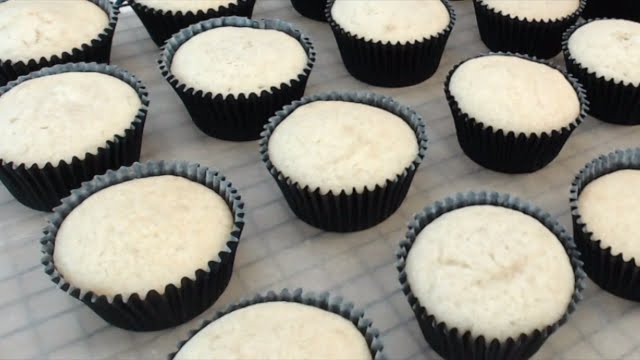
Vanilla Cupcakes (makes 24 standard cupcakes):
2 1/4 cups all purpose or gluten-free flour
1 1/2 cups sugar
3/4 cup vegetable shortening
3/4 cup milk
2 1/2 teaspoons baking powder
1 teaspoon salt
1 teaspoon vanilla extract
1/2 teaspoon almond extract
3 large eggs
– Preheat oven to 350ºF/180ºC.
– Place cupcake cases in pan.
– Measure all ingredients into the mixer bowl fitted with the paddle attachment.
– Mix at low speed until ingredients are combined.
– Scrape down bowl once.
– Mix on high speed until smooth and fluffy (about 2 min).
– Scoop batter into prepared cupcake pans.
– Bake for about 15-25 minutes or until a toothpick inserted into the cupcakes comes out clean.
– Let cool for 10 minutes in pan before turning out onto wire rack to cool completely.
If you want to add icing, this is an easy buttercream icing.
Vanilla Buttercream Icing:
1 cup vegetable shortening or butter
4 cups icing sugar
1 teaspoon vanilla extract
7-8 teaspoons water or milk
– Place vegetable shortening/butter, icing sugar, vanilla and 7 teaspoons of water into the food processor. Mix until icing is spreading consistency and add more water if needed.
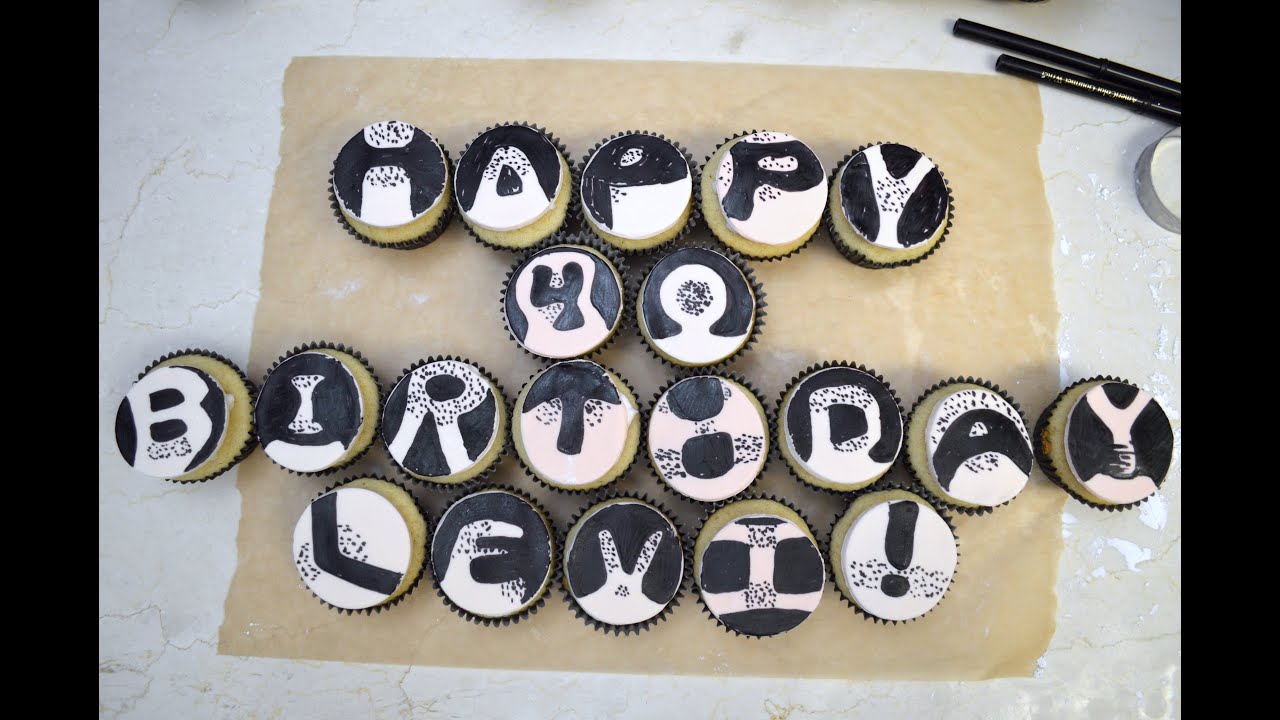
Product list:
Satin Ice Fondant – http://amzn.to/1yconZd
Wilton Small Rolling Pin – http://amzn.to/1rNTLR9
Wilton Gel Colors – http://amzn.to/12k2X3h
Wilton Nesting Double Sided Round Cutters – http://amzn.to/292P2au
Americolor Black Food Writers (2pk) – http://amzn.to/295RLPO
Americolor Assorted Color Writers – http://amzn.to/29cmhZK
IYC Baking Parchment Roll – http://amzn.to/1vDu70Y
Follow me on Twitter @goosesgoodies
Follow me on Instagram @mrsgoosesgoodies
__________________________________________________________________
Support this channel on Patreon!
http://ift.tt/247Fa1E